Homemade Banana Pudding Cups
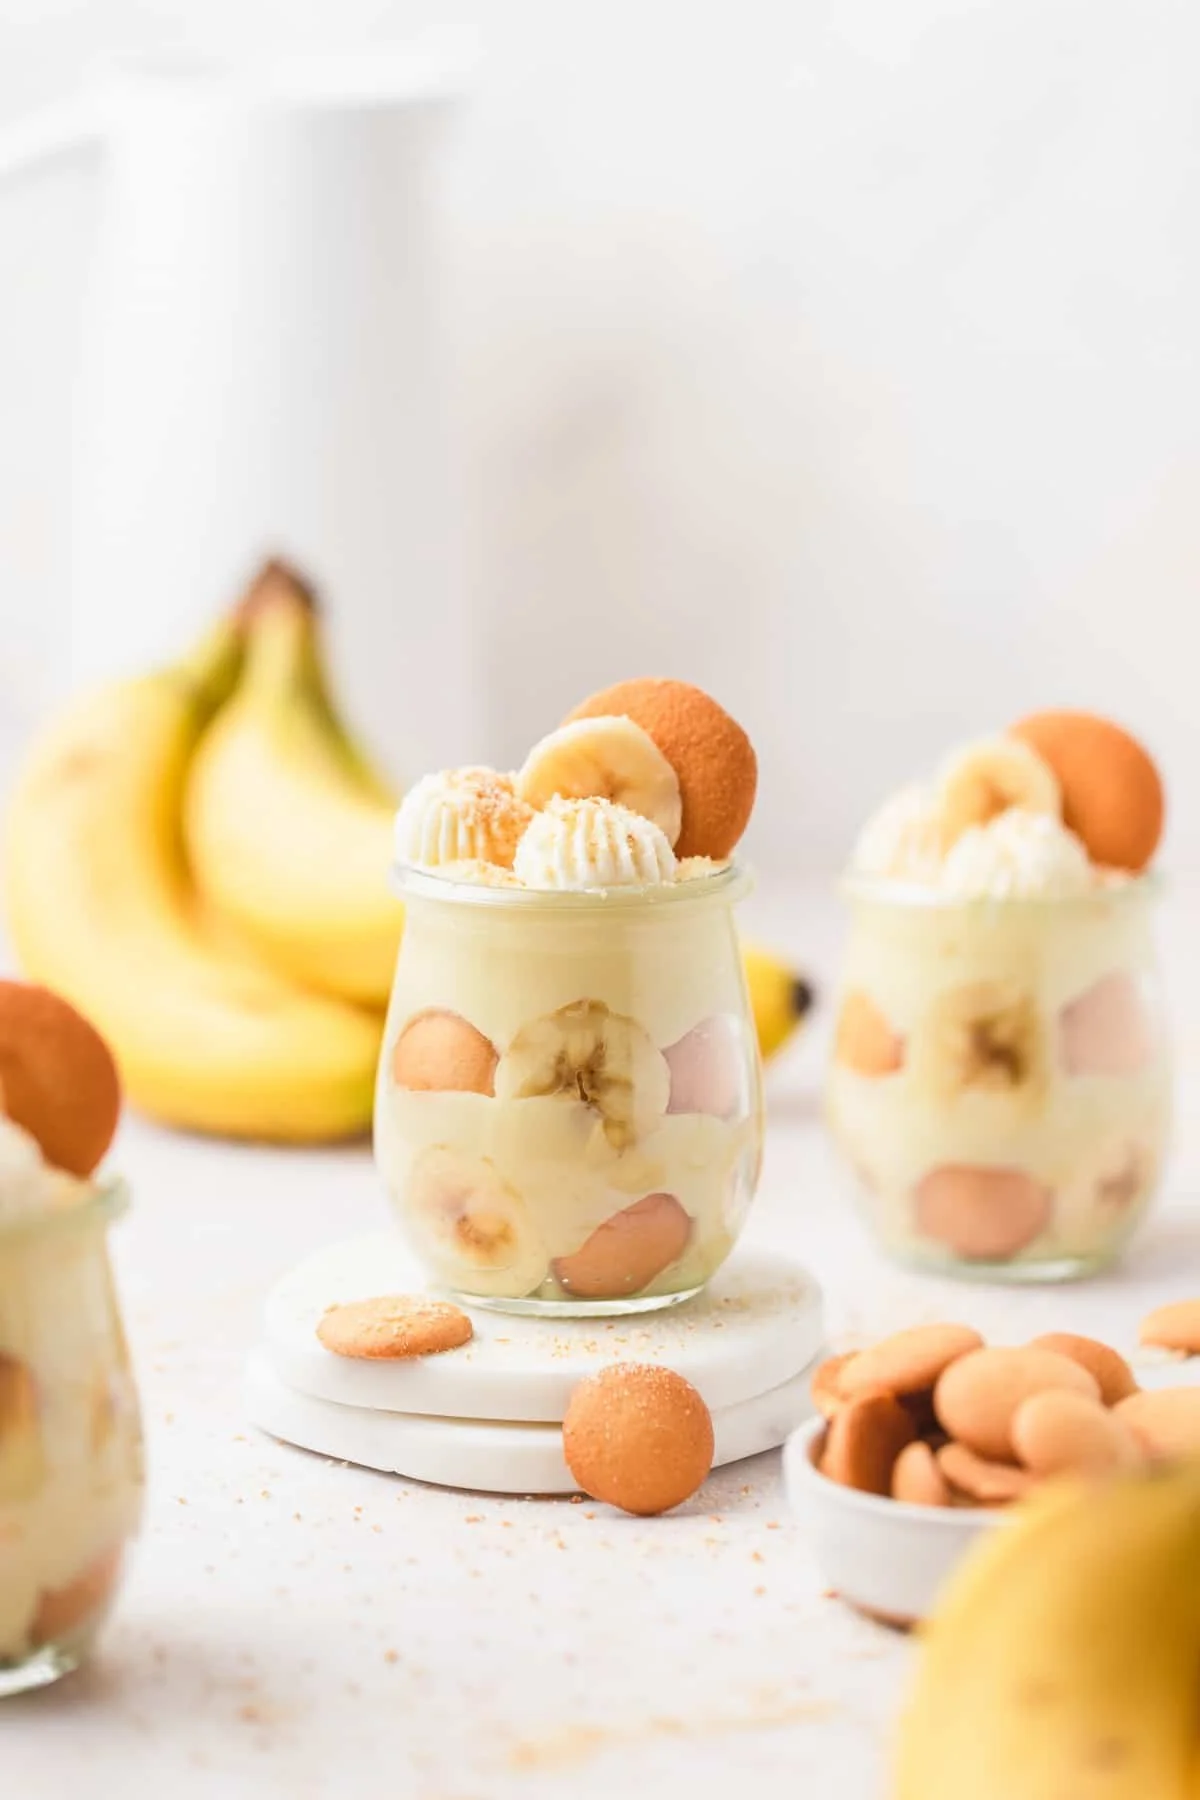
Homemade Banana Pudding Cups bring the delightful flavors of creamy vanilla pudding, fresh bananas, and crunchy Nilla wafers into individual servings that are perfect for any occasion. This luscious dessert is not only easy to make but also a surefire crowd-pleaser. In just a few simple steps, you can create a treat that’s ideal for family gatherings, picnics, or a sweet end to a weeknight dinner.
Recipe Information
- Prep Time: 15 minutes
- Cook Time: 0 minutes
- Total Time: 2 hours 15 minutes (including chilling time)
- Servings: 6
- Difficulty Level: Easy
Nutrition Information
- Calories per serving: 350
- Protein: 4g
- Carbohydrates: 54g
- Fat: 14g
- Fiber: 1g
- Sugar: 28g
- Sodium: 150mg
Why Make This Homemade Banana Pudding Cups
Homemade Banana Pudding Cups are a nostalgic dessert that evokes warm memories of childhood treats. This recipe is ultra-simple, requiring no baking and minimal ingredients, making it a perfect choice for novice cooks or busy families. The creamy texture combined with the light crunch of the Nilla wafers and the sweetness of fresh bananas creates a delicious harmony that will leave everyone asking for seconds. Plus, these cups can be prepared ahead of time, making them a convenient choice for any event.
How to Make Homemade Banana Pudding Cups
Ingredients:
- 2 cups vanilla pudding mix
- 4 cups milk
- 2 cups whipped cream
- 4-5 ripe bananas, sliced
- 1 package of Nilla wafers
- 1 tsp vanilla extract
Directions:
-
Step 1: Preparation
In a large bowl, whisk together the vanilla pudding mix and milk until smooth. This will form the creamy base of your pudding cups.
-
Step 2: Mixing
Stir in the vanilla extract to enhance the pudding’s flavor. Ensure it’s blended well for that extra depth of taste.
-
Step 3: Folding
Gently fold in the whipped cream until fully combined. This step adds a light and airy texture to your mixture.
-
Step 4: Layering
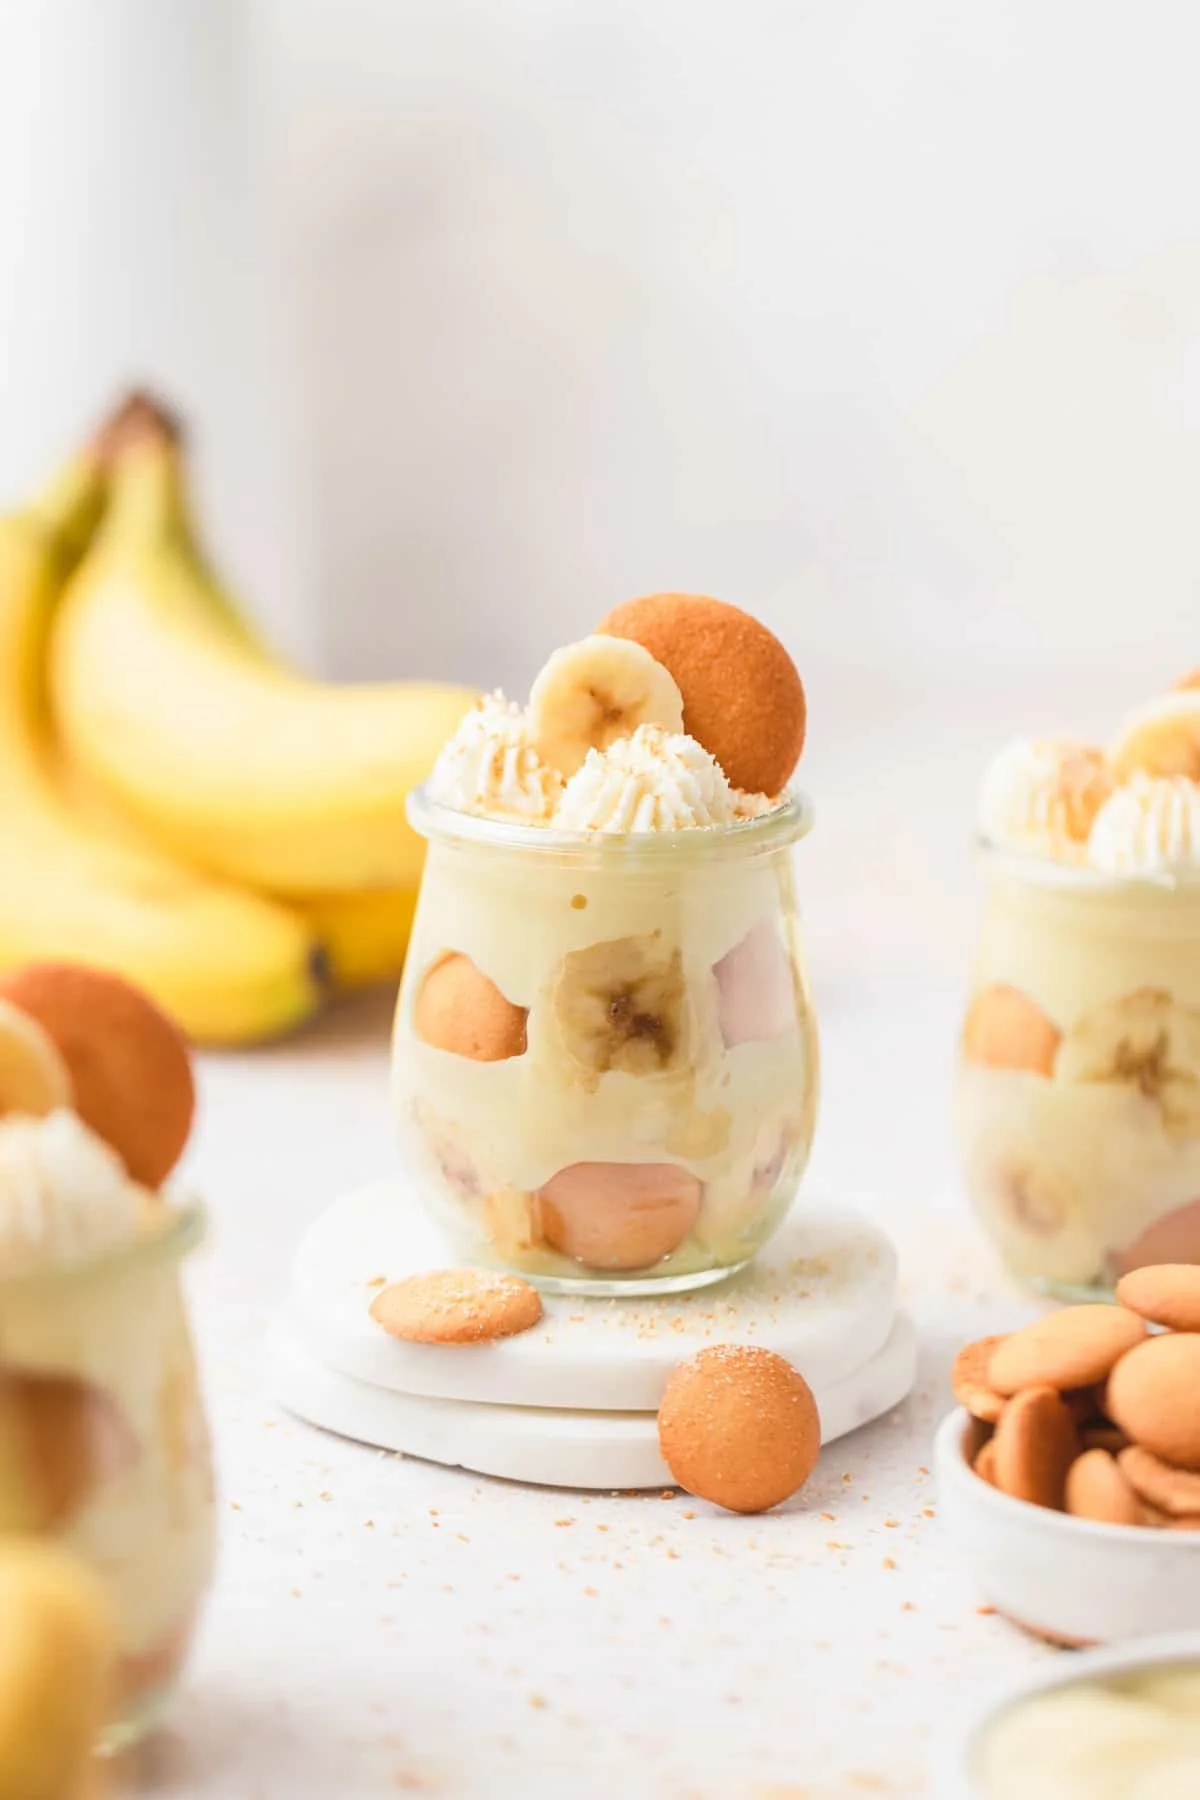
In serving cups or bowls, layer the bottom with Nilla wafers, followed by a layer of sliced bananas, and then a layer of the pudding mixture. Repeat the layers until the cups are filled to the top.
-
Step 5: Chilling
Refrigerate for at least 2 hours before serving to allow it to set. This chilling time makes the layers meld beautifully together.
-
Step 6: Serving
Serve chilled and enjoy! The refreshing taste is perfect for any occasion.
How to Serve Homemade Banana Pudding Cups
Serve these delicious cups as a delightful end to a meal or as a sweet treat during gatherings. You can garnish each cup with a dollop of whipped cream and a slice of banana on top to add an appealing visual touch. For a fun twist, consider drizzling melted chocolate over the top before serving.
How to Store Homemade Banana Pudding Cups
Store any leftover cups in the refrigerator for up to 2 days. Keep them covered with plastic wrap or in an airtight container. However, for the best texture and flavor, it is recommended to enjoy them fresh.
Expert Tips for Perfect Homemade Banana Pudding Cups
- Use ripe bananas for the sweetest flavor and creaminess.
- Ensure that your whipped cream is folded gently to retain its light texture.
- Feel free to substitute Nilla wafers with graham crackers or shortbread cookies for an alternative crunch.
- To prevent bananas from browning, you can lightly toss them in lemon juice before layering.
- If you want to make your pudding richer, substitute half of the milk with heavy cream.
Delicious Variations
- Chocolate Banana Pudding Cups: Swap vanilla pudding for chocolate pudding and layer with chocolate wafers for a decadent twist.
- Nutty Delight: Add chopped nuts like walnuts or pecans between the layers for a crunchy surprise.
- Berry Bliss: Layer in sliced strawberries or blueberries along with the bananas for a fruity explosion.
Frequently Asked Questions
-
Can I make these in advance?
Yes! You can prepare the pudding cups a day ahead and store them in the fridge until you’re ready to serve. -
What if I don’t have whipped cream?
You can use cool whip or make your own by whipping heavy cream with sugar until stiff peaks form. -
Do I need to use ripe bananas?
Yes, ripe bananas add the best sweetness and creaminess to the pudding cups. -
Can I freeze these pudding cups?
It’s not recommended to freeze them because the texture of the whipped cream and bananas can change upon thawing. -
How can I make this recipe gluten-free?
Use gluten-free cookies instead of Nilla wafers, or look for a gluten-free vanilla pudding mix.
Conclusion
Homemade Banana Pudding Cups are a delightful treat that’s easy to prepare and sure to impress. With their creamy layers of pudding, fresh bananas, and crispy wafers, they offer a charming way to indulge your sweet tooth. Whether it’s for a casual family dinner or a festive gathering, this recipe is bound to bring smiles to all. So gather your ingredients, follow the steps, and enjoy this delicious dessert that tastes like a little bit of heaven!
Print
Homemade Banana Pudding Cups
- Total Time: 135 minutes
- Yield: 6 servings 1x
- Diet: Vegetarian
Description
Creamy vanilla pudding layered with fresh bananas and crunchy Nilla wafers in individual servings, perfect for any occasion.
Ingredients
- 2 cups vanilla pudding mix
- 4 cups milk
- 2 cups whipped cream
- 4–5 ripe bananas, sliced
- 1 package of Nilla wafers
- 1 tsp vanilla extract
Instructions
- In a large bowl, whisk together the vanilla pudding mix and milk until smooth. This will form the creamy base of your pudding cups.
- Stir in the vanilla extract to enhance the pudding’s flavor. Ensure it’s blended well for that extra depth of taste.
- Gently fold in the whipped cream until fully combined. This step adds a light and airy texture to your mixture.
- In serving cups or bowls, layer the bottom with Nilla wafers, followed by a layer of sliced bananas, and then a layer of the pudding mixture. Repeat the layers until the cups are filled to the top.
- Refrigerate for at least 2 hours before serving to allow it to set. This chilling time makes the layers meld beautifully together.
- Serve chilled and enjoy! The refreshing taste is perfect for any occasion.
Notes
Store any leftovers in the refrigerator for up to 2 days. For the best texture and flavor, enjoy them fresh.
- Prep Time: 15 minutes
- Cook Time: 0 minutes
- Category: Dessert
- Method: No-Bake
- Cuisine: American
Nutrition
- Serving Size: 1 cup
- Calories: 350
- Sugar: 28g
- Sodium: 150mg
- Fat: 14g
- Saturated Fat: 7g
- Unsaturated Fat: 7g
- Trans Fat: 0g
- Carbohydrates: 54g
- Fiber: 1g
- Protein: 4g
- Cholesterol: 30mg