Banana Pudding Cheesecake Cones
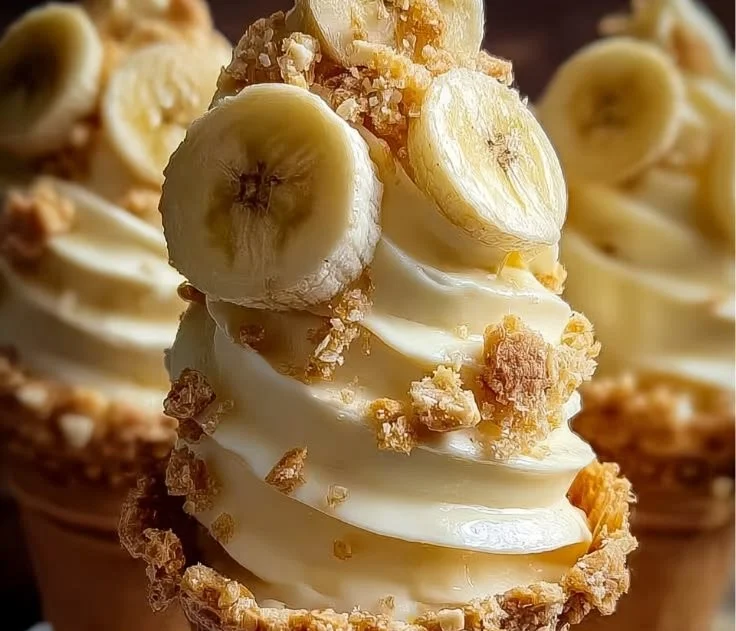
Banana Pudding Cheesecake Cones are a delightful twist on two classic desserts that are sure to impress family and friends with their incredible flavor and presentation. These portable treats combine the creamy goodness of cheesecake with the beloved nostalgia of banana pudding, all served in a fun cone-shaped dessert. Perfect for parties, picnics, or simply as a sweet indulgence at home, you’re going to love how easy these are to put together!
Recipe Information
- Prep Time: 20 minutes
- Cook Time: 0 minutes
- Total Time: 20 minutes
- Servings: 6
- Difficulty Level: Easy
Nutrition Information
- Calories per serving: Approximately 290
- Protein: 4g per serving
- Carbohydrates: 36g per serving
- Fat: 15g per serving
- Fiber: 1g per serving
- Sugar: 15g per serving
- Sodium: 190mg per serving
Why Make This Banana Pudding Cheesecake Cones
Banana Pudding Cheesecake Cones are not only incredibly delicious but also visually appealing. The layers of creamy cheesecake filling, fresh banana slices, and crunchy graham cracker crumbs create a wonderful texture that satisfies every bite. These cones are perfect for gatherings, as they allow guests to enjoy dessert without the need for plates or utensils. Plus, they cater to all ages—children and adults alike will love this fun and tasty treat.
How to Make Banana Pudding Cheesecake Cones
Making these cones is a breeze! With just a few simple ingredients and steps, you’ll have a sensational dessert ready to serve in no time. Let’s dive into the exact process you need to follow to create these sweet delights.
Ingredients:
- 1 cup vanilla pudding mix
- 2 cups milk
- 8 oz cream cheese, softened
- 1/2 cup powdered sugar
- 1 teaspoon vanilla extract
- 1 cup whipped cream
- 2 bananas, sliced
- Graham cracker crumbs
- Cone-shaped waffle cones
Directions:
-
Step 1: Preparation
In a bowl, whisk together the vanilla pudding mix and milk until thickened. Set aside for a few minutes to ensure it reaches the proper consistency.
-
Step 2: Mixing
In another bowl, beat the softened cream cheese, powdered sugar, and vanilla extract until smooth and creamy. This will serve as the rich base of our cheesecake filling.
-
Step 3: Folding
Gently fold in the whipped cream into the cream cheese mixture until combined. This adds lightness and fluffiness to your cheesecake filling.
-
Step 4: Layering
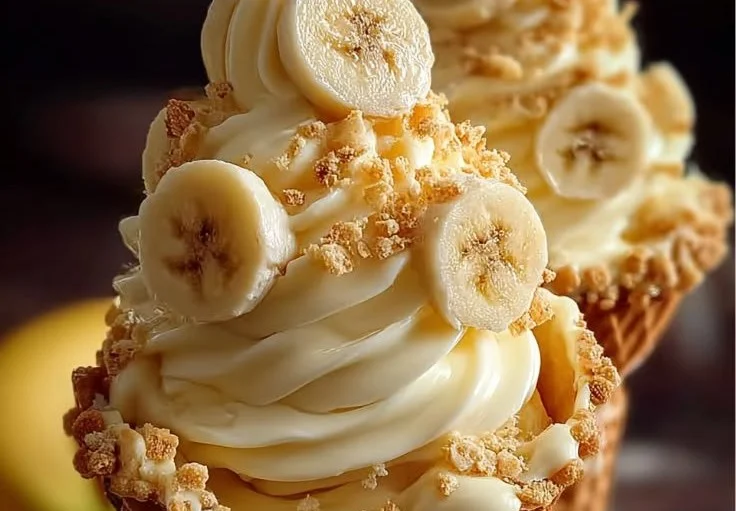
Start by layering the bottom of each waffle cone with a spoonful of vanilla pudding. Then, add a few banana slices followed by a generous scoop of the cream cheese mixture.
-
Step 5: Sprinkling
Sprinkle a layer of graham cracker crumbs on top of the cream cheese mixture. This gives a delightful crunch and enhances the banana pudding vibe.
-
Step 6: Repeating
Repeat the layering process until the cones are filled. Finish off with a dollop of whipped cream on top and sprinkle with additional graham cracker crumbs for presentation.
-
Step 7: Serving
Serve the cones immediately or refrigerate them for a short while before serving to enhance the flavors.
How to Serve Banana Pudding Cheesecake Cones
These Banana Pudding Cheesecake Cones are fantastic as individual desserts at gatherings. They are also a fun way to serve desserts at casual summer barbecues or birthday parties. For an appealing presentation, you can place them in a decorative cup or mini muffin tin to hold them upright. Garnish with extra banana slices or a cherry on top to add a pop of color!
How to Store Banana Pudding Cheesecake Cones
If you need to make these ahead of time, you can store the filled cones in the refrigerator for up to 2 hours. After that, the waffle cones may start to get soggy. If you’re planning to store the mixture, keep the pudding, cream cheese filling, and bananas separate from the waffle cones, and assemble them just before serving for the best texture.
Expert Tips for Perfect Banana Pudding Cheesecake Cones
- For added flavor, consider experimenting by adding a splash of banana liqueur to the cream cheese mixture or vanilla pudding.
- Opt for ripe bananas as they are sweeter and provide a more intense banana flavor.
- If you can find them, using mini cone-shaped waffle cones can make for a cute, bite-sized dessert selection.
Delicious Variations
- Peanut Butter Lovers: Swirl in some peanut butter into the cream cheese mixture for a creamy and nutty twist.
- Chocolate Lovers: Incorporate chocolate pudding mix instead of vanilla for a rich chocolate treat. You can even add chocolate chips into the layers.
- Berry Bliss: Replace the bananas with strawberries or blueberries for a fruity variation that’s equally delicious.
Frequently Asked Questions
-
Can I use different fruit?
Yes! You can use any fruit you like, such as strawberries, raspberries, or peaches. Just make sure to select fruits that complement the creamy filling. -
Can I make them gluten-free?
Absolutely! Use gluten-free waffle cones and check your pudding mix and graham crackers to ensure they are gluten-free. -
How do I prevent the bananas from browning?
To minimize browning, toss banana slices in a little lemon juice before layering them in the cones. -
Can I make this dessert vegan?
Yes! Use plant-based cream cheese, vegan whipped cream, and a dairy-free pudding mix for a satisfying vegan alternative. -
How can I make this ahead of time?
Prepare the filling and store it in the refrigerator, then assemble the cones just before serving to keep the waffle cones crispy.
Conclusion
There you have it—Banana Pudding Cheesecake Cones are a fun and scrumptious way to enjoy two beloved desserts in one delightful package. With their rich flavors and appealing presentation, they’re perfect for any occasion. So gather your ingredients, follow the steps, and treat yourself to these sweet cones of joy. Your friends and family will thank you!
Print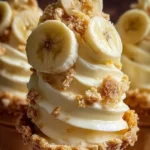
Banana Pudding Cheesecake Cones
- Total Time: 20 minutes
- Yield: 6 servings 1x
- Diet: Vegetarian
Description
A delightful twist on classic banana pudding and cheesecake, served in fun cone-shaped desserts. Perfect for parties and gatherings!
Ingredients
- 1 cup vanilla pudding mix
- 2 cups milk
- 8 oz cream cheese, softened
- 1/2 cup powdered sugar
- 1 teaspoon vanilla extract
- 1 cup whipped cream
- 2 bananas, sliced
- Graham cracker crumbs
- Cone-shaped waffle cones
Instructions
- Whisk together the vanilla pudding mix and milk until thickened. Set aside.
- Beat the cream cheese, powdered sugar, and vanilla extract in another bowl until smooth.
- Fold in the whipped cream into the cream cheese mixture until combined.
- Layer the bottom of each waffle cone with vanilla pudding, add banana slices, and then a scoop of the cream cheese mixture.
- Sprinkle graham cracker crumbs on top of the cream cheese mixture.
- Repeat the layering process until the cones are filled and top with whipped cream and more crumbs.
- Serve immediately or refrigerate for a short while before serving.
Notes
For best texture, assemble cones just before serving. Use ripe bananas for better flavor.
- Prep Time: 20 minutes
- Cook Time: 0 minutes
- Category: Dessert
- Method: No Bake
- Cuisine: American
Nutrition
- Serving Size: 1 cone
- Calories: 290
- Sugar: 15g
- Sodium: 190mg
- Fat: 15g
- Saturated Fat: 5g
- Unsaturated Fat: 10g
- Trans Fat: 0g
- Carbohydrates: 36g
- Fiber: 1g
- Protein: 4g
- Cholesterol: 30mg