No-Churn Vanilla Ice Cream
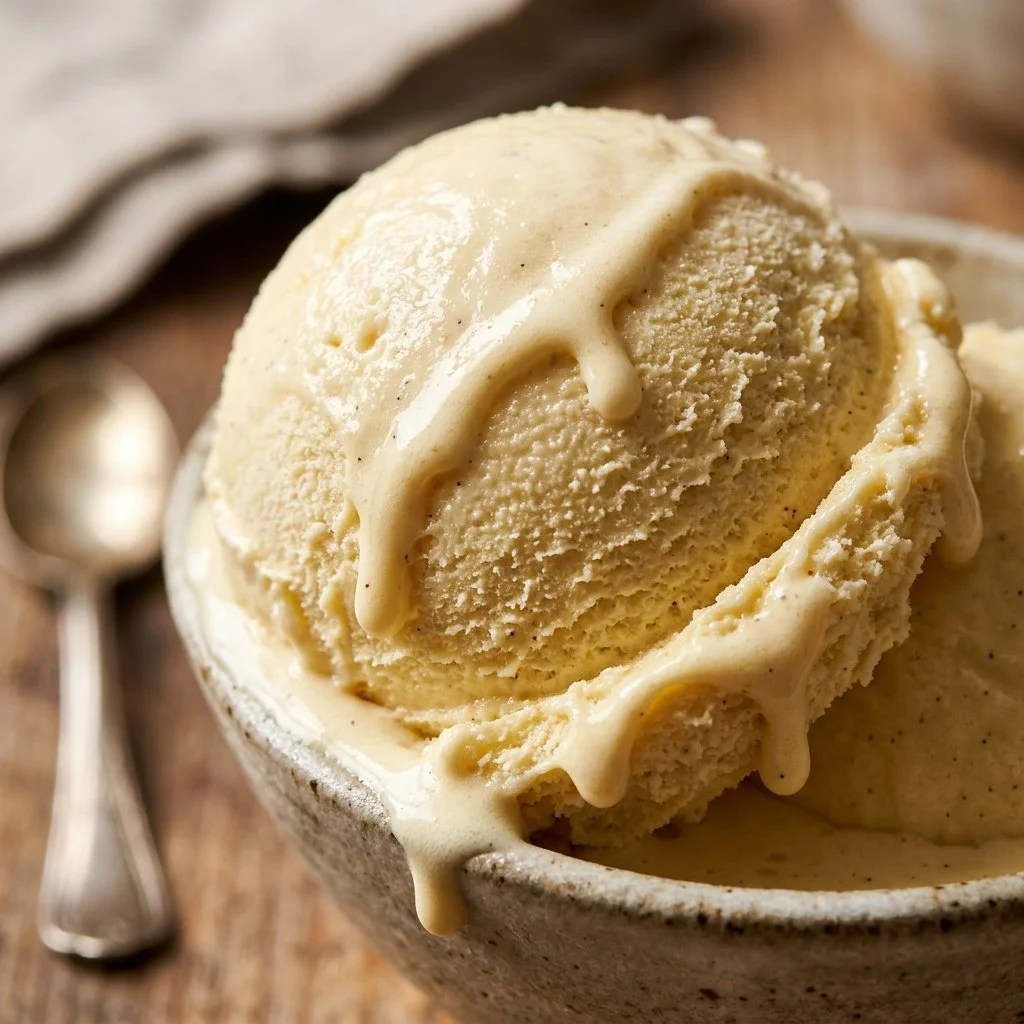
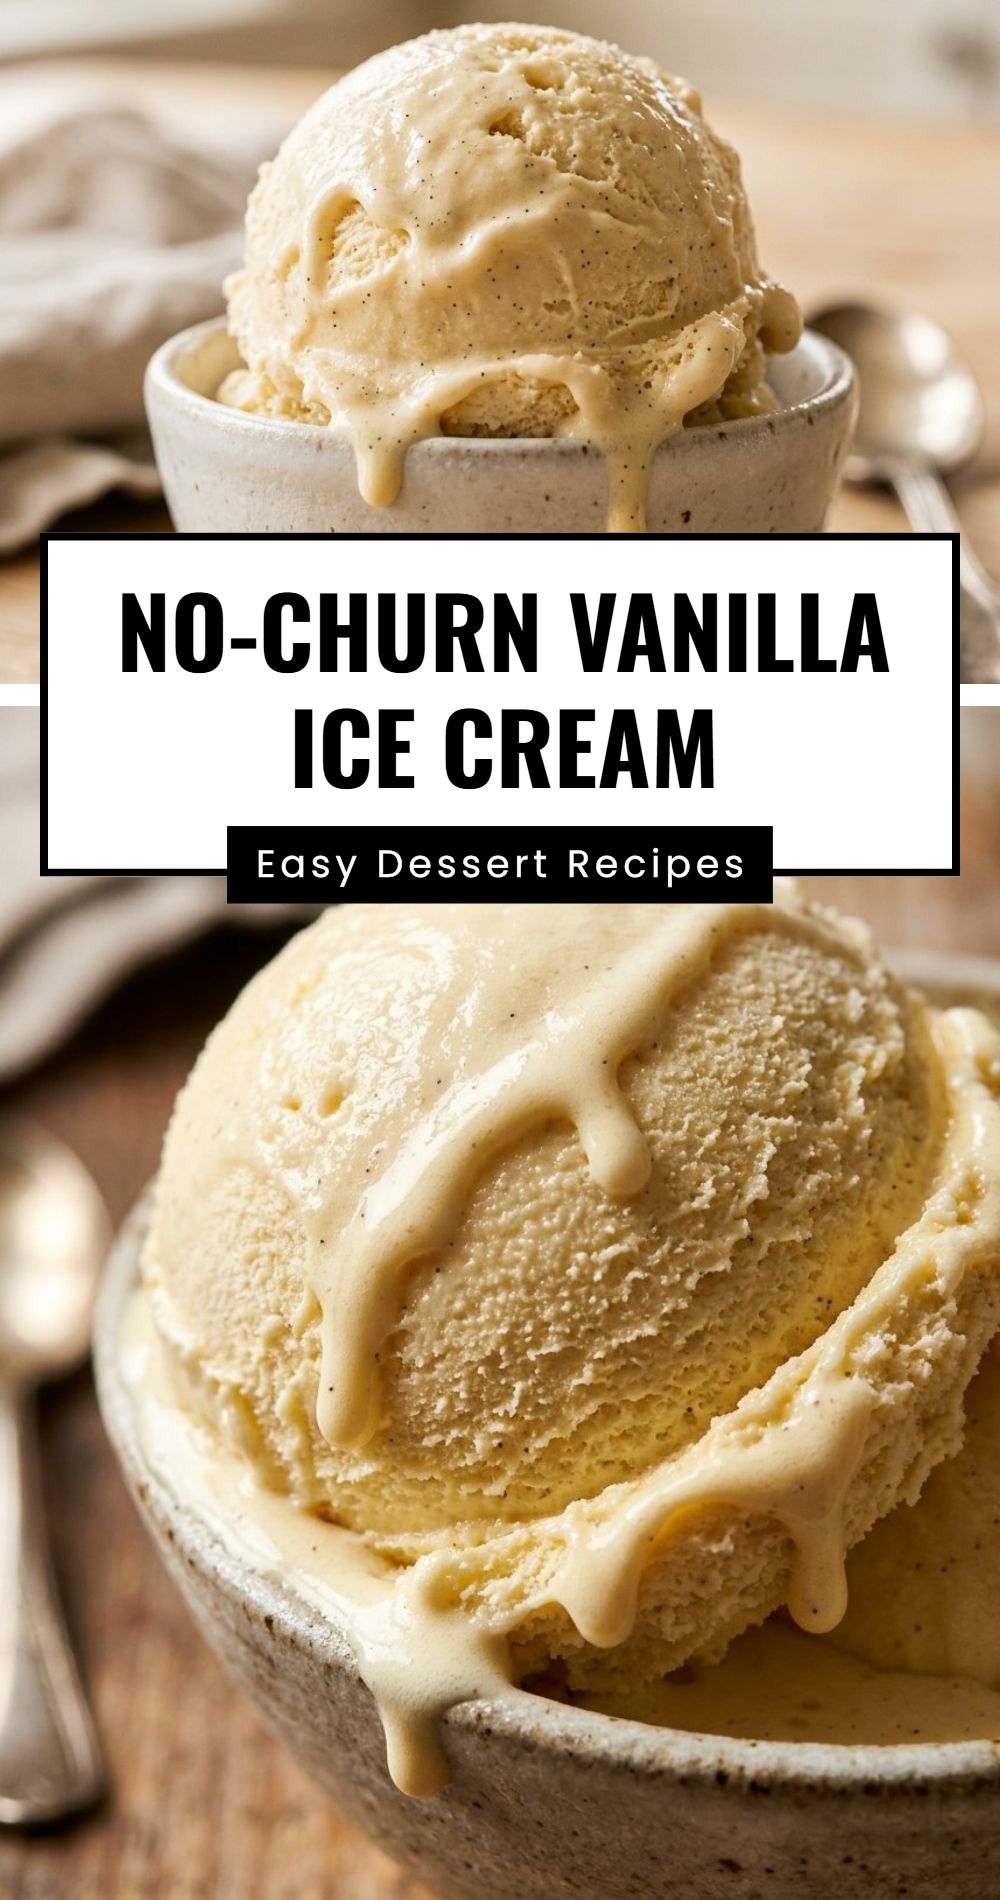
No-Churn Vanilla Ice Cream is the perfect treat for any occasion. With its creamy texture and rich flavor, this delightful ice cream can be enjoyed on its own or used as a base for countless desserts. Best of all, you don’t need an ice cream maker to whip up this indulgent classic at home. Just gather your ingredients, and you’ll have a luscious treat ready to satisfy your sweet tooth!
Recipe Information
- Prep Time: 10 minutes
- Cook Time: 0 minutes
- Total Time: 6 hours 10 minutes
- Servings: 4-6
- Difficulty Level: Easy
Nutrition Information
- Calories per serving: 300
- Protein: 3g
- Carbohydrates: 30g
- Fat: 18g
- Fiber: 0g
- Sugar: 22g
- Sodium: 50mg
Why Make This No-Churn Vanilla Ice Cream
This No-Churn Vanilla Ice Cream is not just easy to make, it’s also remarkably delicious! The combination of heavy cream and sweetened condensed milk creates a smooth, silky texture that rivals any store-bought version. The rich vanilla flavor complements a variety of dishes, from cakes to pies. Making ice cream at home means you can customize it to your liking, ensuring that every scoop is filled with love and flavor.
How to Make No-Churn Vanilla Ice Cream
Ingredients:
- 2 cups heavy cream
- 1 can (14 ounces) sweetened condensed milk
- 1 tablespoon pure vanilla extract
- Pinch of salt
Directions:
-
Step 1: Preparation
In a large bowl, whip the heavy cream until stiff peaks form. You’ll know it’s ready when you can lift the whisk out, and the cream holds a firm peak.
-
Step 2: Mixing
In another bowl, combine the sweetened condensed milk, vanilla extract, and a pinch of salt. Stir gently until well blended.
-
Step 3: Folding
Gently fold the whipped cream into the condensed milk mixture. Use a spatula and carefully fold until everything is well combined, taking care not to deflate the whipped cream.
-
Step 4: Freezing
Pour the mixture into a loaf pan and smooth the top. Cover it tightly with plastic wrap, then freeze for at least 6 hours or until firm.
-
Step 5: Serving
Once frozen, scoop the ice cream into bowls and serve immediately. Enjoy the delightful combination of creaminess and sweetness!
How to Serve No-Churn Vanilla Ice Cream
This No-Churn Vanilla Ice Cream is incredibly versatile. Serve it as a classic scoop alongside warm brownies or apple pie for a comforting dessert. You can also make an elegant sundae by adding your favorite toppings like chocolate sauce, nuts, or fresh fruit. For a more sophisticated treat, pair it with a slice of cake or use it in milkshakes for a creamy delight.
How to Store No-Churn Vanilla Ice Cream
Store your No-Churn Vanilla Ice Cream in an airtight container in the freezer. It will keep well for up to 2 weeks, though it’s likely to be devoured long before then! When storing, make sure to press a piece of plastic wrap directly onto the surface of the ice cream to minimize ice crystal formation.
Expert Tips for Perfect No-Churn Vanilla Ice Cream
- Ensure heavy cream is chilled before whipping for maximum volume.
- For a richer flavor, consider adding a splash of bourbon or rum to the vanilla mixture.
- If you want to mix in flavors, fold in crushed cookies, chocolate chips, or fruit puree after the whipped cream is added.
Delicious Variations
- Chocolate Chip: Add a cup of mini chocolate chips for a delightful crunch.
- Mint Chocolate: Incorporate crushed mint candies and a few drops of peppermint extract for a refreshing twist.
- Fruit Swirl: Fold in berry purée or any fruit compote before freezing for a fruity delight.
Frequently Asked Questions
-
Can I use other flavors instead of vanilla?
Yes! Feel free to use almond extract or even matcha powder to change the flavor profile. -
Can I make this ice cream dairy-free?
Absolutely! Substitute coconut cream for heavy cream and use a dairy-free sweetened condensed milk alternative. -
What if my ice cream is too hard to scoop?
Let it sit at room temperature for about 5-10 minutes before scooping to soften it slightly. -
Can I add mix-ins after freezing?
It’s best to add mix-ins before freezing for an even distribution. If added after, they may not integrate well. -
How do I prevent ice crystals from forming?
Make sure the ice cream is tightly sealed in an airtight container, and minimize air exposure as much as possible.
Conclusion
Making No-Churn Vanilla Ice Cream at home is not only easy but also brings joy to any dessert table. Its creamy texture, rich flavor, and simplicity make it a beloved classic. Whether you’re serving it at a celebration or indulging on a quiet evening, this delightful treat is sure to impress! So grab your ingredients and get started – you won’t regret it!
Print
No-Churn Vanilla Ice Cream
- Total Time: 370 minutes
- Yield: 4-6 servings 1x
- Diet: Vegetarian
Description
A creamy and rich No-Churn Vanilla Ice Cream that requires no ice cream maker. A delightful classic treat perfect for any occasion.
Ingredients
- 2 cups heavy cream
- 1 can (14 ounces) sweetened condensed milk
- 1 tablespoon pure vanilla extract
- Pinch of salt
Instructions
- In a large bowl, whip the heavy cream until stiff peaks form.
- In another bowl, combine the sweetened condensed milk, vanilla extract, and a pinch of salt. Stir gently until well blended.
- Gently fold the whipped cream into the condensed milk mixture.
- Pour the mixture into a loaf pan and smooth the top. Cover it tightly with plastic wrap, then freeze for at least 6 hours or until firm.
- Once frozen, scoop the ice cream into bowls and serve immediately.
Notes
Ensure heavy cream is chilled before whipping for maximum volume. Customize flavors by adding mix-ins like chocolate chips or fruit puree.
- Prep Time: 10 minutes
- Cook Time: 0 minutes
- Category: Dessert
- Method: Freezing
- Cuisine: American
Nutrition
- Serving Size: 1 serving
- Calories: 300
- Sugar: 22g
- Sodium: 50mg
- Fat: 18g
- Saturated Fat: 11g
- Unsaturated Fat: 7g
- Trans Fat: 0g
- Carbohydrates: 30g
- Fiber: 0g
- Protein: 3g
- Cholesterol: 60mg