Master Scones

Mastering the art of scone-making unlocks a world of warm, fluffy, and lightly sweetened treats that are perfect for breakfast, brunch, or an afternoon snack. These delightful baked goods, with their tender crumbs and buttery flavor, can be enjoyed plain or enhanced with your favorite add-ins, like chocolate chips or dried fruits. With just a few simple ingredients and easy steps, you can create scones that rival any bakery’s offering.
Recipe Information
- Prep Time: 15 minutes
- Cook Time: 15-20 minutes
- Total Time: 30-35 minutes
- Servings: 8 scones
- Difficulty Level: Easy
Nutrition Information
- Calories per serving: 210
- Protein: 3g
- Carbohydrates: 28g
- Fat: 10g
- Fiber: 1g
- Sugar: 4g
- Sodium: 150mg
Why Make This Master Scones
Making scones at home offers you a chance to enjoy fresh, warm treats while saving money compared to bakery purchases. They are incredibly versatile—you can customize them with any add-ins you love or even enjoy them plain! The golden crust and moist interior make for a delightful experience, with every bite delivering a satisfying balance of crispness and softness. Plus, they’re quick to whip up and perfect for any occasion.
How to Make Master Scones
Ingredients:
- 2 cups all-purpose flour
- 1/4 cup granulated sugar
- 1 tablespoon baking powder
- 1/2 teaspoon salt
- 1/2 cup cold butter, cut into cubes
- 2/3 cup heavy cream
- 1 large egg
- 1 teaspoon vanilla extract
- Optional: 1 cup add-ins (chocolate chips, dried fruit, etc.)
Directions:
Step 1: Preparation
Preheat your oven to 400°F (200°C). This step is essential as it ensures your scones will bake evenly and develop that lovely golden color. Prepare a baking sheet by lining it with parchment paper to prevent the scones from sticking.
Step 2: Mixing
In a large bowl, whisk together the flour, sugar, baking powder, and salt. These dry ingredients form the base of your scones. Using a whisk helps to aerate the flour, ensuring your baked goods come out light and fluffy.
Step 3: Cutting in Butter
Cut in the cold butter using a pastry cutter or your fingertips until the mixture resembles coarse crumbs. This incorporates the butter without melting it, which is crucial for achieving a crumbly texture.
Step 4: Combining Wet Ingredients
In a separate small bowl, mix together the heavy cream, egg, and vanilla extract. Pour the wet mixture into the dry ingredients and mix until just combined. If you’re adding any extras like chocolate chips or dried fruits, now’s the time to fold them in gently.
Step 5: Shaping the Dough
Turn the dough onto a floured surface and knead gently just until the dough comes together. Overworking the dough can result in tough scones, so be gentle.
Step 6: Cutting and Baking
Pat the dough into a 1-inch thick disc and cut it into wedges. Place the scones on your prepared baking sheet. Bake for 15-20 minutes or until they’re golden brown and a toothpick inserted into the center comes out clean.
Step 7: Cooling
Allow the scones to cool slightly before serving. This helps firm them up just a bit, making them easier to enjoy with your favorite spread or filling.
How to Serve Master Scones
Serve your warm scones with clotted cream, butter, or a dollop of jam for a traditional treat. They pair beautifully with a cup of tea or coffee, making them an ideal addition to any brunch spread or afternoon tea occasion.
How to Store Master Scones
To store leftover scones, place them in an airtight container at room temperature for up to 2 days. You can also freeze them by wrapping each scone individually in plastic wrap and storing them in a freezer-safe bag. They’ll last up to 3 months this way. When ready to enjoy, just reheat in the oven or microwave until warmed through.
Expert Tips for Perfect Master Scones
- Use cold butter straight from the fridge to ensure a flaky texture.
- Don’t overmix the dough; mix just until combined for the best results.
- Experiment with different add-ins like nuts, fresh berries, or spices to customize your scones.
- For extra flavor, consider brushing the top of the scones with cream or an egg wash before baking.
Delicious Variations
- Chocolate Chip Scones: Add 1 cup of chocolate chips to the dough for a rich treat.
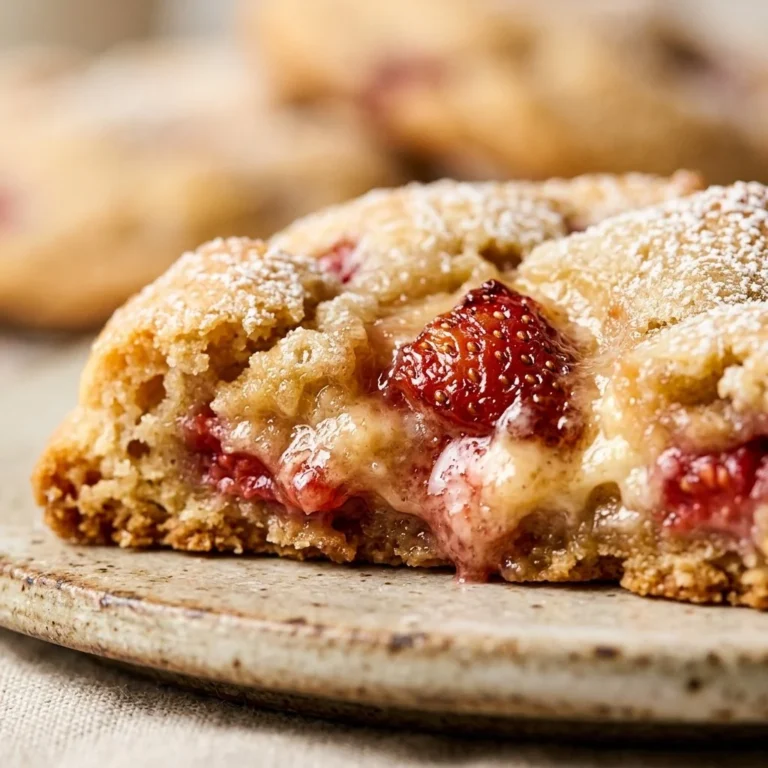
- Fruit Scones: Incorporate 1 cup of fresh or dried berries for a fruity twist.
- Savoury Scones: Replace sugar with cheese and herbs for a savory version perfect for breakfast or a side dish.
Frequently Asked Questions
-
Can I make the dough ahead of time?
Yes! You can prepare the dough and refrigerate it for up to 24 hours before baking. Just shape it, wrap it tightly, and place it in the fridge. -
What can I substitute for heavy cream?
You can use half-and-half or whole milk, but keep in mind that the scones may not be as rich and tender. -
Can I make these scones gluten-free?
Absolutely! Substitute the all-purpose flour with a gluten-free 1:1 baking blend and ensure your baking powder is gluten-free. -
How do I know when my scones are done?
They should be golden brown on the outside, and a toothpick inserted in the center will come out clean. -
What should I do if my scone dough is too wet?
If the dough is sticky, sprinkle a little more flour until it reaches a manageable consistency.
Conclusion
With their delightful texture and versatility, mastering scones is a rewarding endeavor. Whether enjoyed plain or dressed up with your favorite flavors, these treats promise to brighten any day. So gather your ingredients and enjoy the satisfying journey of creating these delightful baked goods! Don’t hesitate to experiment with variations and toppings—it’s all about making them your own. Happy baking!