Butterfinger Peanut Butter Pie

Recipe Information
- Prep Time: 15 minutes
- Cook Time: 0 minutes
- Total Time: 4 hours 15 minutes
- Servings: 8
- Difficulty Level: Easy
Nutrition Information
- Calories per serving: 400
- Protein: 6 grams
- Carbohydrates: 45 grams
- Fat: 22 grams
- Fiber: 1 gram
- Sugar: 28 grams
- Sodium: 250 mg
Why Make This Butterfinger Peanut Butter Pie
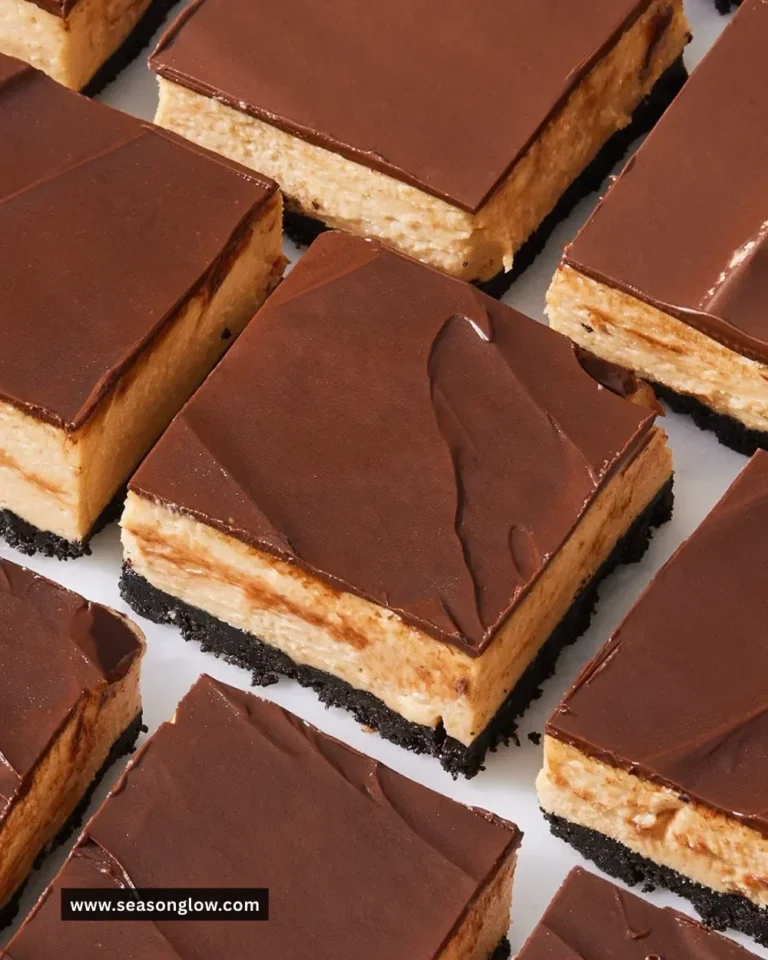
If you’re looking for a dessert that’s as fun to make as it is to eat, this Butterfinger Peanut Butter Pie is the perfect choice! With its rich, creamy peanut butter filling and the satisfying crunch of Butterfinger candy bars, this pie is an irresistible treat that will delight both children and adults alike. It’s easy to whip up, requires no baking, and can be prepared ahead of time—making it an ideal dessert for parties, holidays, or simply to satisfy your sweet tooth. Once you taste the combination of silky smooth peanut butter and the delightful crunch of chocolate and toffee, you’ll understand why this pie is a fan favorite.
How to Make Butterfinger Peanut Butter Pie
Ingredients:
- 1 pre-made graham cracker crust
- 8 oz cream cheese, softened
- 1 cup powdered sugar
- 1 cup creamy peanut butter
- 1 cup whipped topping
- 2 Butterfinger candy bars, crushed
- Chocolate syrup (for drizzling, optional)
Directions:
Step 1: Preparation
In a large mixing bowl, use an electric mixer to beat the softened cream cheese until it’s smooth and creamy. This creates a perfect base for your pie, ensuring a light texture that blends well with the other ingredients.
Step 2: Mixing
Add the powdered sugar and creamy peanut butter to the bowl. Continue mixing until everything is well combined and there are no lumps, creating a luscious and creamy filling that’s full of flavor.
Step 3: Folding in Whipped Topping
Gently fold in the whipped topping using a spatula. This step adds air to the mixture, making it light and fluffy—exactly what you want for a pie that feels indulgent but isn’t too heavy.
Step 4: Adding Butterfinger Crunch
Next, gently fold in the crushed Butterfinger candy bars, saving a small amount for topping later. This adds a delightful crunch and sweetness that perfectly complements the creamy peanut butter filling.
Step 5: Assembling the Pie
Pour the delicious peanut butter mixture into the prepared graham cracker crust. Spread it evenly across the crust, making sure to reach the edges to avoid any gaps. This is where the pie gets really exciting!
Step 6: Refrigeration
Place the pie in the refrigerator for at least 4 hours, or until it’s fully set. This step is essential for achieving the perfect slice later—you want that filling to hold together perfectly.
Step 7: Finishing Touches
Before serving, drizzle the top with chocolate syrup and sprinkle the remaining crushed Butterfinger over the pie. This not only enhances the flavor but also makes the pie visually appealing, inviting everyone to grab a slice.
How to Serve Butterfinger Peanut Butter Pie
Slice the pie into wedges and serve it chilled. This pie pairs wonderfully with a dollop of extra whipped topping or a scoop of vanilla ice cream for those who crave a cold dessert experience. It’s perfect for birthday parties, potlucks, or any festive occasion where dessert is on the menu.
How to Store Butterfinger Peanut Butter Pie
Store any leftovers in an airtight container in the refrigerator. The pie will keep well for up to 4 days, but be sure to enjoy each slice quickly—the deliciousness tends to vanish fast!
Expert Tips for Perfect Butterfinger Peanut Butter Pie
- Make sure your cream cheese is softened at room temperature to avoid lumps in your filling.
- If you’re short on time, you can use a store-bought whipped topping to save on prep.
- Feel free to experiment with different candy bars—Snickers, Reese’s, or Milky Way can change the flavor profile deliciously!
- For a nuttier flavor, consider using crunchy peanut butter instead of creamy.
- If you prefer a bit more chocolate, add chocolate chips to the filling before pouring it into the crust.
Delicious Variations
- Nutty Chocolate Variation: Add chopped nuts to the filling or use a nut-based crust for added texture and flavor.
- Peanut Butter Cup Delight: Incorporate chopped mini peanut butter cups into the pie for an extra chocolatey delight.
- Vegan Twist: Use vegan cream cheese, coconut whipped cream, and a vegan graham cracker crust to make a dairy-free version.
Frequently Asked Questions
-
Can I make this pie ahead of time?
Yes! You can prepare this pie a day or two in advance and keep it refrigerated until you’re ready to serve. -
What can I use if I can’t find Butterfinger candy bars?
Other candy bars like Twix or Milky Way can also work well for this recipe, offering a comparable crunch and sweetness. -
How do I know when the pie is set?
The pie should feel firm to the touch and should hold its shape when you slice it. Refrigerating for at least 4 hours is recommended. -
Can I freeze the pie?
While you can freeze the pie, the texture may change slightly upon thawing. If you decide to freeze it, cover it well and consume it within a month for the best quality. -
What’s the best way to slice the pie?
Using a sharp knife that has been dipped in warm water will help you make clean cuts through the creamy filling and graham cracker crust.
Conclusion
This Butterfinger Peanut Butter Pie is a delightful treat that will surely impress family and friends. Its creamy filling, crunchy texture, and a hint of chocolate create a perfect dessert experience. With just a few simple steps, you can create a dessert that is not only easy to make but also irresistibly delicious. Don’t hesitate to give this recipe a try—you’ll be glad you did! Enjoy every bite of this creamy, nutty masterpiece!