Sticky Date Cake
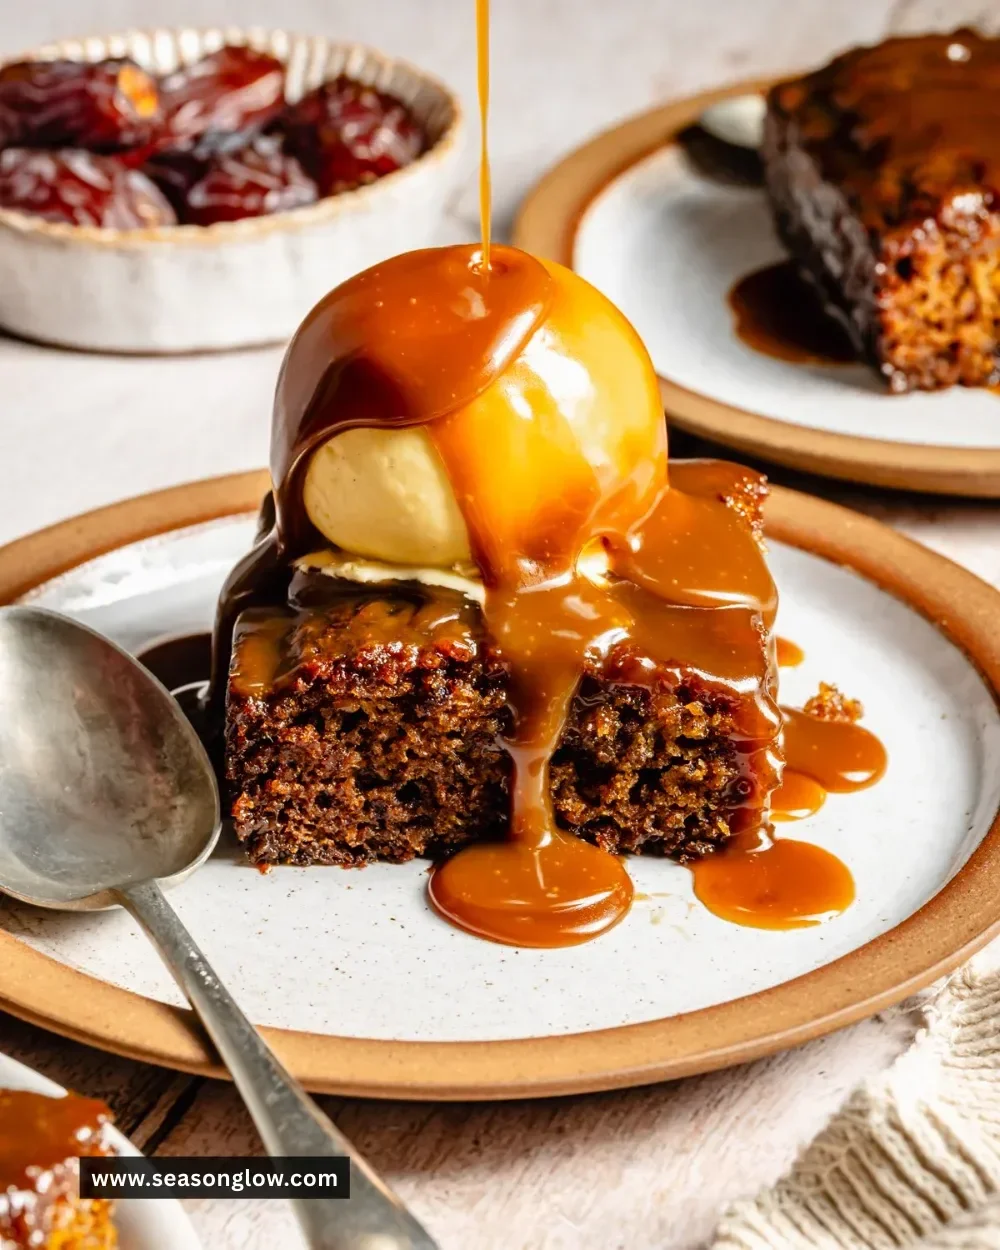
Sticky Date Cake is a deliciously moist dessert that combines rich, sweet dates with a soft, spongy cake. This classic treat is perfect for any occasion, whether you’re hosting a dinner party or enjoying a cozy night in. Each bite offers a delightful mix of textures and flavors that’s sure to satisfy your sweet tooth. Served warm or chilled, Sticky Date Cake pairs wonderfully with a scoop of vanilla ice cream or a dollop of whipped cream, making it a versatile dessert that everyone will love.
Recipe Information
- Prep Time: 15 minutes
- Cook Time: 35 minutes
- Total Time: 50 minutes
- Servings: 8
- Difficulty Level: Easy
Nutrition Information
- Calories per serving: 220
- Protein: 3g
- Carbohydrates: 35g
- Fat: 9g
- Fiber: 2g
- Sugar: 20g
- Sodium: 150mg
Why Make This Sticky Date Cake
Sticky Date Cake is a crowd-pleaser that’s not only easy to make but also incredibly satisfying. The warmth of the dates adds a natural sweetness that pairs well with the buttery richness of the cake. Perfect for celebrating special occasions or for simply indulging yourself, this recipe provides a comforting, heartfelt taste of homemade goodness. Plus, with minimal ingredients and straightforward steps, it’s great for both novice bakers and seasoned pros.
How to Make Sticky Date Cake
Creating Sticky Date Cake is a straightforward process, and you’ll be delighted by the heavenly aroma wafting through your kitchen as you bake. Follow these simple steps to achieve the perfect, sticky dessert!
Ingredients:
- 200g dates, pitted and chopped
- 1 cup boiling water
- 1 tsp baking soda
- 1 cup brown sugar
- 1/2 cup unsalted butter, softened
- 2 large eggs
- 1 tsp vanilla extract
- 1 1/2 cups all-purpose flour
- 1 tsp baking powder
- 1/4 tsp salt
Directions:
Step 1: Preparation
- Preheat your oven to 180°C (350°F) and grease a cake pan to prevent sticking.
Step 2: Soaking Dates
- In a bowl, combine chopped dates with boiling water and baking soda; let it sit for about 10 minutes. This allows the dates to soften and release their natural sweetness.
Step 3: Mixing
- In another bowl, cream together brown sugar and softened butter until light and fluffy. This step is crucial as it incorporates air into the mixture for a lighter cake texture.
Step 4: Adding Eggs
- Add the eggs one by one, mixing well after each addition. Then, stir in the vanilla extract to enhance the flavor of your cake.
Step 5: Incorporating Dates
- Stir the softened date mixture into the creamed butter mixture until combined. This is where the cake gets its delightful stickiness!
Step 6: Preparing Dry Ingredients
- In a separate bowl, sift together flour, baking powder, and salt. This helps eliminate lumps and ensures even distribution of leavening agents.
Step 7: Combining Mixtures
- Gradually fold in the dry ingredients into the wet mixture until just combined. Be careful not to overmix to maintain the cake’s softness.
Step 8: Baking
- Pour the batter into the prepared cake pan and bake for 30-35 minutes or until a skewer inserted into the center comes out clean. The cake should be golden brown on top.
Step 9: Cooling
- Allow the cake to cool in the pan for a few minutes before transferring it to a wire rack to cool completely. This helps the cake set properly.
How to Serve Sticky Date Cake
Serve your Sticky Date Cake warm, possibly drizzled with caramel sauce or alongside a scoop of vanilla ice cream. For a special touch, dust with powdered sugar or top it with chopped walnuts for added crunch. It makes a delightful dessert for gatherings, or you can enjoy it as a sweet pick-me-up with your afternoon tea.
How to Store Sticky Date Cake
Store any leftover cake in an airtight container at room temperature for up to 3 days. For longer storage, you can refrigerate it for up to a week. To maintain optimal flavor and texture, consider wrapping individual slices in plastic wrap and freezing them. They should stay fresh for up to 3 months.
Expert Tips for Perfect Sticky Date Cake
- Ensure the dates are fresh; dried dates may not provide the same natural moisture.
- Experiment with different sugars, such as muscovado or coconut sugar, for varied flavors.
- For added depth, include a teaspoon of espresso powder or a splash of brandy in the batter.
- Don’t open the oven door too early, as this can cause the cake to sink.
- Test doneness using a skewer or toothpick; it should come out clean when the cake is ready.
Delicious Variations
- Chocolate Sticky Date Cake: Add cocoa powder to the batter for a chocolatey twist.
- Nutty Addition: Fold in chopped walnuts or pecans for an added crunch and flavor.
- Spiced Date Cake: Incorporate spices like cinnamon, nutmeg, or ginger for a warm, spiced flavor profile.
- Gluten-Free: Substitute all-purpose flour with a gluten-free baking blend.
Frequently Asked Questions
- Can I use dried dates instead of fresh? Yes, just ensure they’re soft enough to blend smoothly into the batter. You may want to soak them in warm water longer.
- What can I substitute for brown sugar? If you don’t have brown sugar, you can use white sugar with a tablespoon of molasses to mimic the flavor of brown sugar.
- Can I prepare the batter ahead of time? It’s best to bake the cake right after mixing to achieve the best texture. However, everything can be pre-measured and mixed just before baking.
- Can I serve it cold? Absolutely! Sticky Date Cake can be enjoyed chilled and is still delicious and moist.
- How do I know if my cake is done? Check for a clean skewer when inserted in the center of the cake. It should come out without any batter attached.
Conclusion
Sticky Date Cake is a warming, indulgent treat that brightens up any occasion. With its simple preparation and rich flavor, it’s an excellent addition to your dessert repertoire. So gather your ingredients, follow the steps, and savor the delight that comes from baking this classic dessert. Enjoy each bite and share it with loved ones, making sweet memories together!