Stained Glass Window Cookies
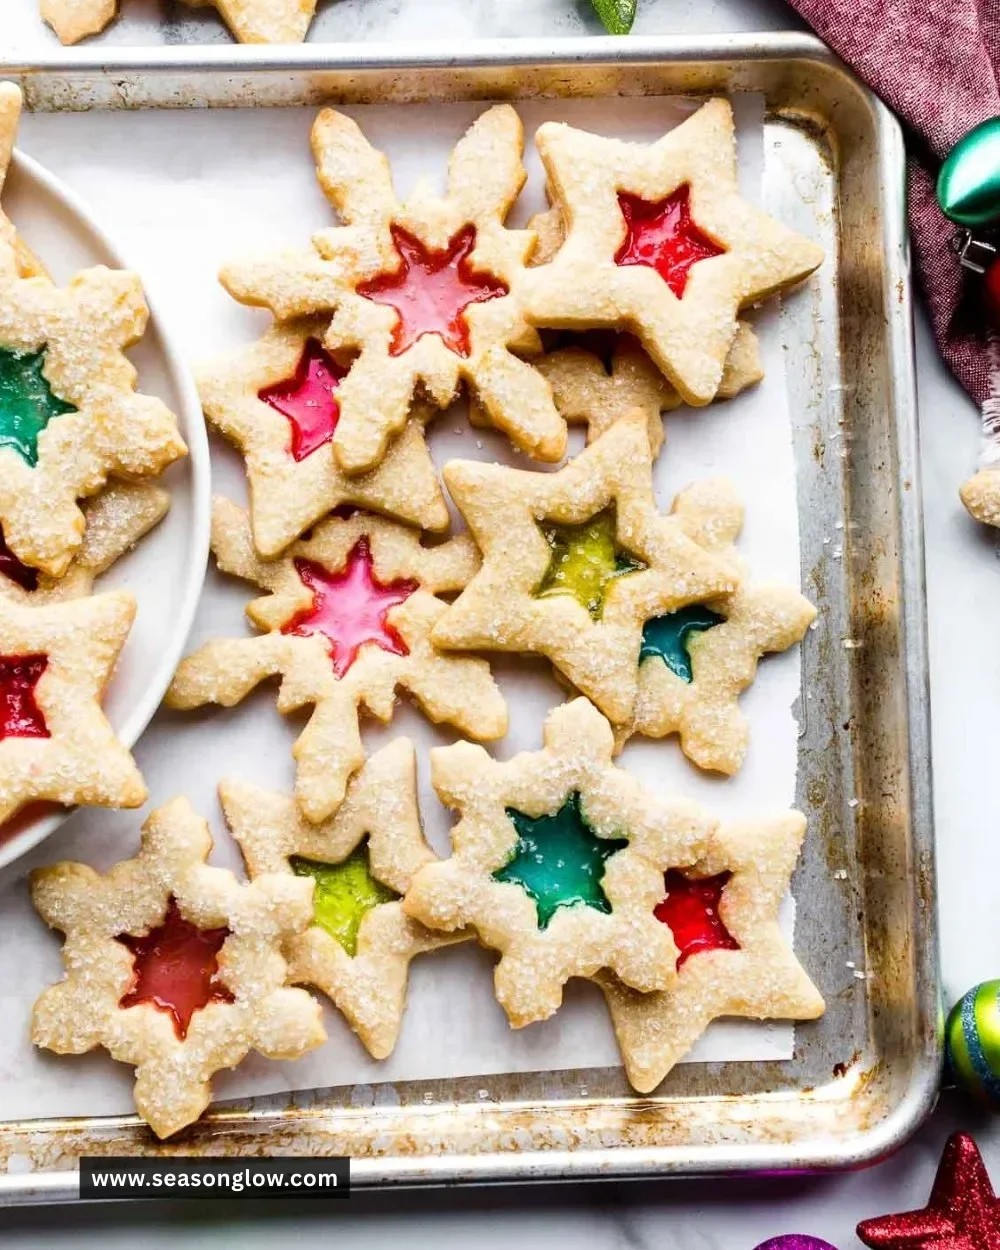
Stained Glass Window Cookies are a delightful treat that not only taste amazing but also look stunning. With their vibrant, colorful centers that resemble stained glass, these cookies are perfect for holidays, special occasions, or simply to brighten up your day. The rich buttery flavor combined with the sweet crunch of candy creates a cookie experience that’s thoroughly enjoyable. Let’s dive into this fun and straightforward recipe that will have everyone asking for more!
Recipe Information
- Prep Time: 20 minutes
- Cook Time: 10-12 minutes
- Total Time: 30-32 minutes
- Servings: 24 cookies
- Difficulty Level: Easy
Nutrition Information
- Calories per serving: 130
- Protein: 1.5 grams
- Carbohydrates: 20 grams
- Fat: 6 grams
- Fiber: 0.5 grams
- Sugar: 8 grams
- Sodium: 100 mg
Why Make This Stained Glass Window Cookies
These Stained Glass Window Cookies are much more than just a delicious snack. Their eye-catching design makes them an impressive addition to any dessert table. Perfect for Christmas, birthdays, or any festive gathering, they bring a pop of color and joy to your treats. The interactive element of making these cookies with kids adds to the fun, as they can choose different colors of candy for their windows. Plus, they combine simple ingredients often found in your pantry, making them easy to whip up!
How to Make Stained Glass Window Cookies
Step 1: Preparation
Preheat your oven to 350°F (175°C) to ensure it’s hot and ready for baking. This will help your cookies bake evenly and achieve that perfect golden edge.
Step 2: Mixing
In a large bowl, cream together 1 cup of softened unsalted butter and 1 cup of granulated sugar until the mixture is light and fluffy. This can take about 2-3 minutes with a hand mixer. Then, beat in 1 large egg and 1 teaspoon of vanilla extract until it’s well combined and smooth.
Step 3: Combining Dry Ingredients
In a separate bowl, whisk together 3 cups of all-purpose flour, 1 teaspoon of baking powder, and 1/2 teaspoon of salt. Gradually add this dry mixture to the wet ingredients, mixing until just combined. Be careful not to overmix; you want a smooth dough that holds together well.
Step 4: Shaping Cookies
Roll out the dough on a floured surface to about 1/4 inch thick. Then, use cookie cutters to cut out fun shapes. For the stained glass effect, cut out smaller shapes from the center of each cookie to create a ‘window’ that will be filled with candy.
Step 5: Baking
Place the shaped cookies on a baking sheet lined with parchment paper. Fill the centers of the cookies with 1 cup of crushed candy (like Jolly Ranchers or Life Savers). Bake them in the preheated oven for 10-12 minutes or until the edges are lightly golden.
Step 6: Cooling
Once baked, allow the cookies to cool completely on the baking sheet. As they cool, the candy will harden and create the beautiful stained glass effect.
How to Serve Stained Glass Window Cookies
Serve these charming cookies on a platter at your next gathering, or package them up as thoughtful gifts. They pair wonderfully with a glass of milk or a cup of hot cocoa. For a festive touch, consider placing them in clear bags tied with colorful ribbons.
How to Store Stained Glass Window Cookies
Store your Stained Glass Window Cookies in an airtight container at room temperature for up to one week. For longer storage, freeze them between layers of parchment paper in a freezer-safe container for up to three months. Just make sure to let them come to room temperature before serving after freezing.
Expert Tips for Perfect Stained Glass Window Cookies
- Ensure that your butter is softened, but not melted, for the lightest texture.
- Use a variety of colored candies for a more vibrant stained glass effect.
- Experiment with different cookie shapes to match various themes or seasons.
- If the candy begins to melt over the sides while baking, gently reshape it with a knife after cooling.
Delicious Variations
- Chocolate Stained Glass Window Cookies: Replace half of the all-purpose flour with cocoa powder for a chocolatey twist.
- Spiced Cookies: Add 1 teaspoon of cinnamon or ginger to the dough for a warm flavor ideal for the holidays.
- Nutty Delight: Incorporate chopped nuts or shredded coconut into the dough before rolling for added texture.
Frequently Asked Questions
-
Can I use different types of candy?
Yes! Besides Jolly Ranchers and Life Savers, you can experiment with other hard candies, just ensure they are crushable. -
What if my dough is too sticky?
If the dough is sticky, add a little more flour, a tablespoon at a time, until you reach the desired consistency. -
How can I prevent the candy from burning?
Keep a close eye on the cookies during the last few minutes of baking. If you notice the candy starting to bubble too much, remove them from the oven. -
Can I make the dough in advance?
Absolutely! You can make the dough ahead of time and keep it in the refrigerator for up to 3 days or freeze it for longer storage. -
What is the best method to crush candy?
Place the candies in a zip-top bag and use a rolling pin to crush them into pieces. This minimizes mess and makes clean-up easier.
Conclusion
Stained Glass Window Cookies are not only a feast for the eyes but an absolute treat for the taste buds. Their delightful crunch and sweet flavors make them a perfect addition to any occasion. So gather your ingredients, get the kids involved, and enjoy the magical experience of bringing these vibrant cookies to life in your kitchen. Happy baking!