Red Velvet Cake with Cream Cheese Frosting
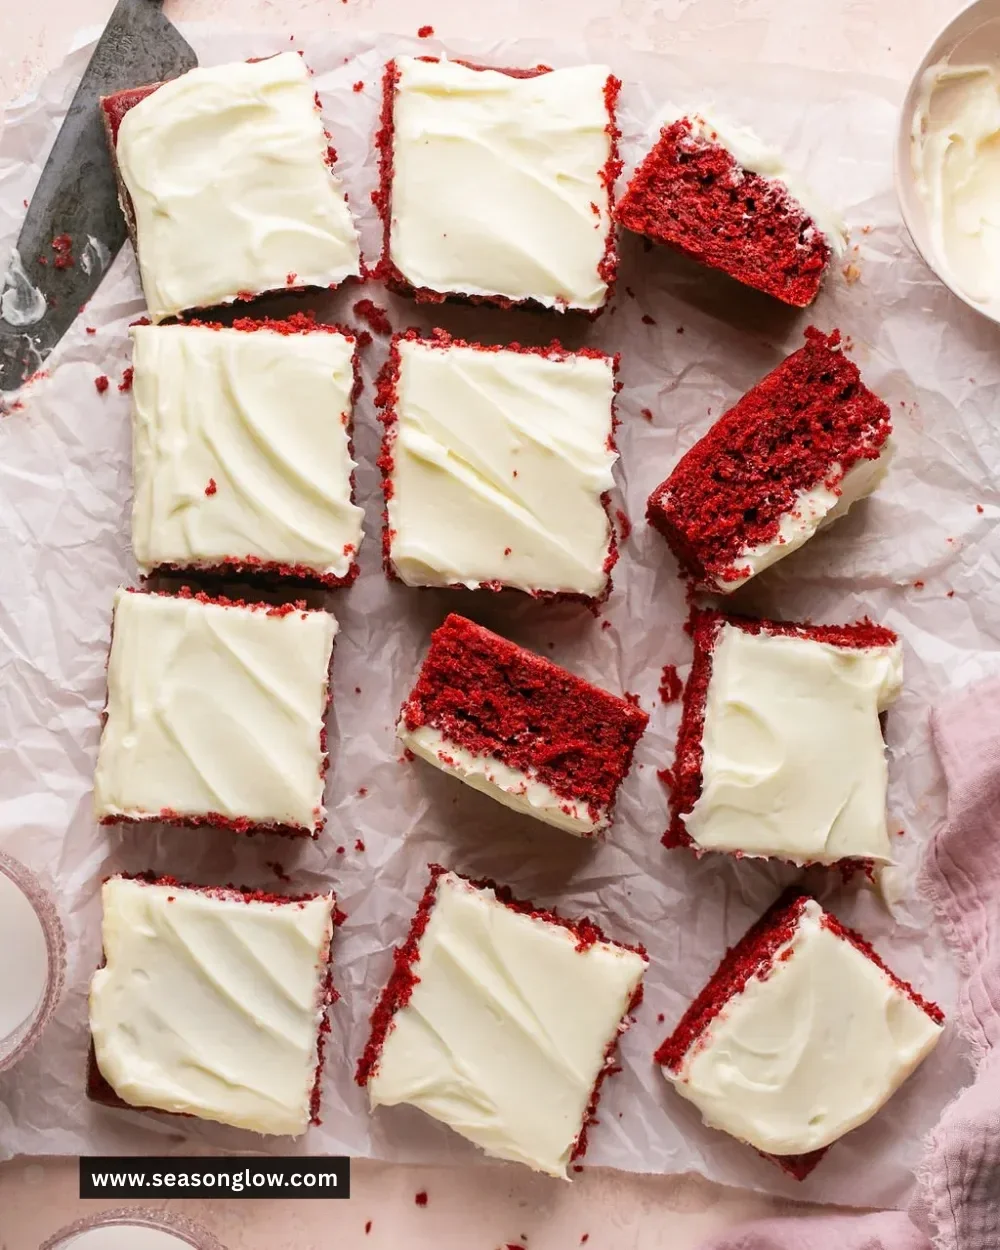
Red velvet cake with cream cheese frosting is a luxurious dessert that perfectly balances flavors and textures. With its vibrant red hue and rich taste, this cake isn’t just a feast for the eyes—it’s also a delicious treat for the palate. The tangy cream cheese frosting adds a delightful contrast to the cake’s subtle cocoa undertones, making it a perfect choice for celebrations, gatherings, or simply a cozy dessert at home.
Recipe Information
- Prep Time: 30 minutes
- Cook Time: 30 minutes
- Total Time: 1 hour
- Servings: 12
- Difficulty Level: Medium
Nutrition Information
- Calories per serving: 450
- Protein: 5 grams
- Carbohydrates: 62 grams
- Fat: 20 grams
- Fiber: 1 gram
- Sugar: 35 grams
- Sodium: 300 mg
Why Make This Red Velvet Cake with Cream Cheese Frosting
This red velvet cake stands out for its stunning appearance and rich taste. Its moist texture, complemented by the creamy frosting, ensures a delightful experience in every bite. Whether for birthdays, holidays, or special events, this cake will impress your guests and leave them craving more. Additionally, red velvet cake evokes nostalgia and warmth, making it a beloved classic that’s perfect for sharing memories.
How to Make Red Velvet Cake with Cream Cheese Frosting
Creating this masterpiece is surprisingly simple, even if it appears complex. Follow these steps, and you’ll enjoy a delightful red velvet cake topped with luscious cream cheese frosting.
Ingredients:
- 2 1/2 cups all-purpose flour
- 1 1/2 cups sugar
- 1 teaspoon baking soda
- 1 teaspoon salt
- 1 teaspoon cocoa powder
- 1 1/2 cups vegetable oil
- 1 cup buttermilk, room temperature
- 2 large eggs, room temperature
- 2 tablespoons red food coloring
- 1 teaspoon vanilla extract
- 1 teaspoon white vinegar
- 8 oz cream cheese, softened
- 1/2 cup unsalted butter, softened
- 4 cups powdered sugar
- 1 teaspoon vanilla extract
Directions:
Step 1: Preparation
Preheat your oven to 350°F (175°C). Grease and flour two 9-inch round cake pans to ensure your cake comes out with ease.
Step 2: Mixing Dry Ingredients
In a large bowl, sift together the flour, sugar, baking soda, salt, and cocoa powder. This step is crucial to eliminate any lumps and blend the ingredients evenly, ensuring a smooth batter.
Step 3: Mixing Wet Ingredients
In another bowl, whisk together the vegetable oil, buttermilk, eggs, red food coloring, vanilla extract, and vinegar. Mixing these wet ingredients thoroughly will enhance the cake’s moisture and flavor.
Step 4: Combining Ingredients
Gently mix the wet ingredients into the dry ingredients until just combined. Be careful not to over-mix; a few lumps are okay. This will give your cake the desired light texture.
Step 5: Baking
Divide the batter equally between the prepared cake pans. Bake in the preheated oven for 25-30 minutes or until a toothpick inserted in the center comes out clean. Allow the cakes to cool in the pans for 10 minutes, then transfer them to wire racks to cool completely.
Step 6: Making the Frosting
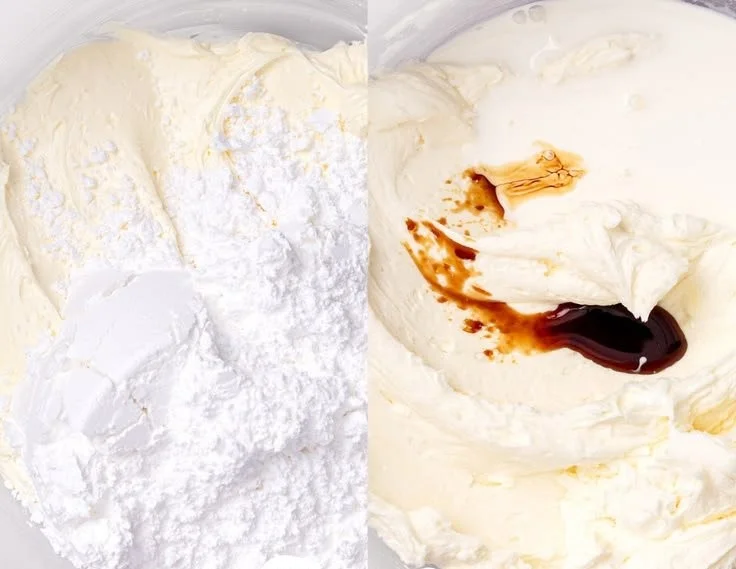
In a bowl, beat the cream cheese and butter together until smooth and creamy. Gradually add powdered sugar and vanilla extract, mixing until well combined and fluffy.
Step 7: Frosting the Cake
Once the cakes have cooled, frost the top of one layer with cream cheese frosting. Place the second layer on top and continue frosting the top and sides of the cake to create a beautiful finish.
Step 8: Serving
Slice your delicious red velvet cake and serve! Enjoy this delightful dessert with friends and family, and watch their faces light up with joy.
How to Serve Red Velvet Cake with Cream Cheese Frosting
Serve this cake as the centerpiece of your dessert table, adorned with fresh berries or chocolate shavings for extra flair. Pair slices with a glass of cold milk or a warm cup of coffee for a perfect afternoon treat.
How to Store Red Velvet Cake with Cream Cheese Frosting
Store any leftover cake in an airtight container in the refrigerator for up to 3-4 days. For longer storage, wrap slices tightly in plastic wrap and freeze for up to 3 months. To enjoy later, simply thaw in the fridge overnight before serving.
Expert Tips for Perfect Red Velvet Cake with Cream Cheese Frosting
- Ensure all your ingredients are at room temperature for the best texture.
- Don’t skip the vinegar; it reacts with the baking soda, helping the cake rise and adding a subtle flavor.
- For an extra moist cake, consider adding a tablespoon of sour cream to your wet ingredients.
- If you prefer a less sweet frosting, reduce the powdered sugar slightly.
Delicious Variations
- Add a layer of chocolate ganache on top of the cream cheese frosting for a richer chocolate experience.
- Make red velvet cupcakes instead of a cake; bake for about 20 minutes and frost with the same cream cheese mixture.
- Experiment with different extracts, like almond or lemon, for unique flavor profiles.
Frequently Asked Questions
- Can I make red velvet cake without food coloring? Yes, you can skip the food coloring entirely, but you will lose the trademark color. The cake will still taste delicious!
- What can I substitute for buttermilk? If you don’t have buttermilk, mix 1 cup of milk with 1 tablespoon of vinegar or lemon juice and let it sit for 5-10 minutes.
- How can I make my red velvet cake more chocolatey? You can increase the cocoa powder to 2 teaspoons for a more pronounced chocolate flavor.
- Can I use a different frosting? Absolutely! Cream cheese frosting is traditional, but buttercream or whipped cream would also be delicious.
- How do I know when my cake is done baking? Insert a toothpick in the center of the cake; it should come out clean or with a few moist crumbs, not wet batter.
Conclusion
There’s something truly special about making a red velvet cake with cream cheese frosting. This recipe encapsulates not just a delightful dessert but also the warmth of tradition and joy in baking. Whether you’re celebrating a special occasion or simply treating yourself to something sweet, this cake will surely deliver satisfaction. So, roll up your sleeves, gather your ingredients, and get ready to create a stunning cake that will leave everyone smiling! Happy baking!