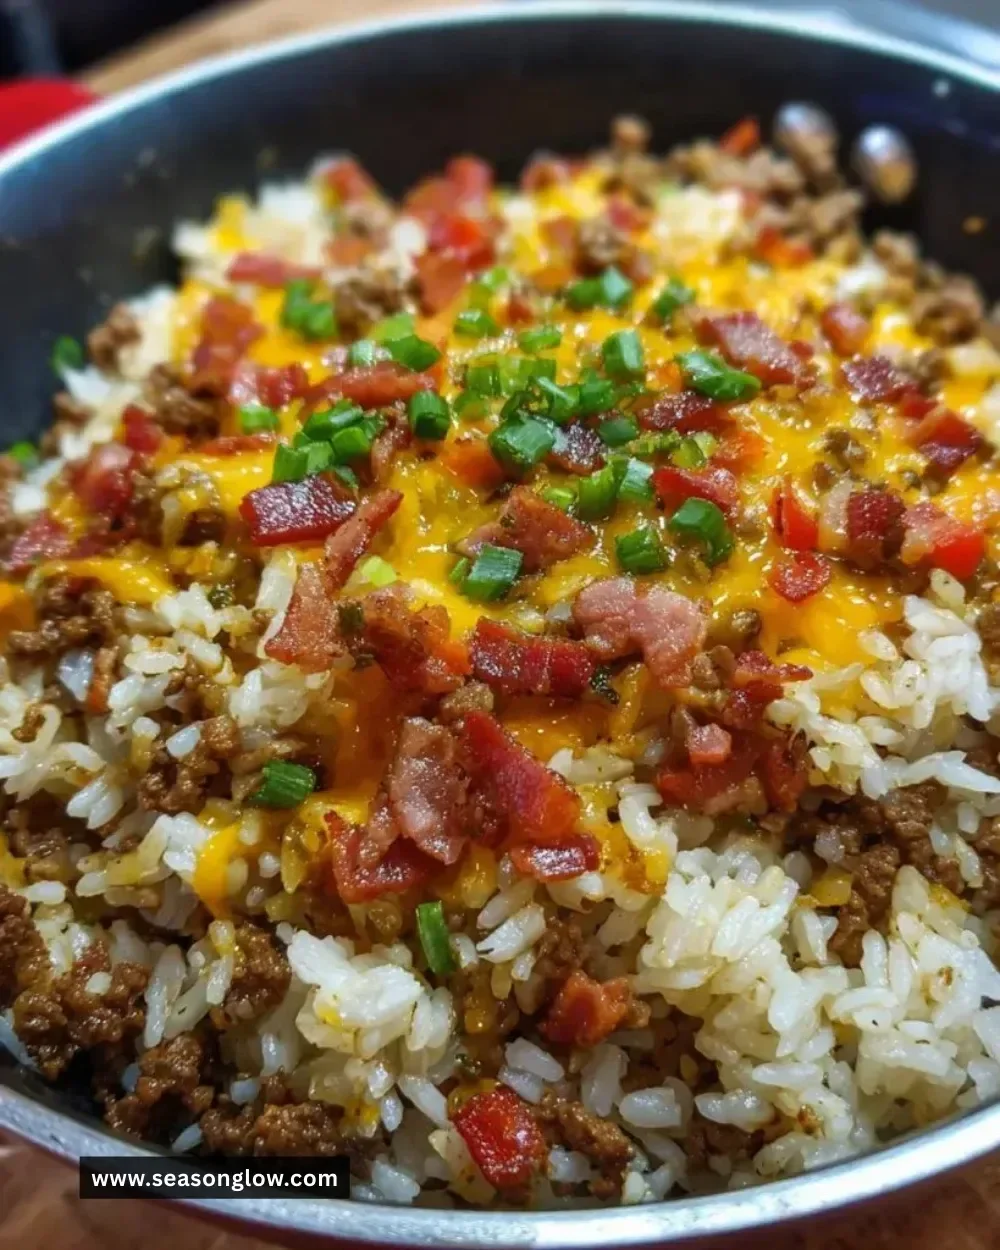
Bacon Cheeseburger Rice Skillet
Recipe Information
- Prep Time: 10 minutes
- Cook Time: 30 minutes
- Total Time: 40 minutes
- Servings: 6
- Difficulty Level: Easy
Nutrition Information
- Calories per serving: 450
- Protein: 25 grams
- Carbohydrates: 35 grams
- Fat: 25 grams
- Fiber: 1 gram
- Sugar: 2 grams
- Sodium: 800 mg
Why Make This Bacon Cheeseburger Rice Skillet
If you’re looking for a meal that combines the mouthwatering flavors of a classic cheeseburger with the comforting heartiness of rice, this Bacon Cheeseburger Rice Skillet is the answer! It’s quick to prepare and uses ingredients you likely already have in your pantry. The crispy bacon, seasoned ground beef, and gooey cheese blend together in a single pan, making cleanup a breeze. Perfect for busy weeknights or to impress friends at a casual gathering, this dish is sure to satisfy every taste bud around the table.
How to Make Bacon Cheeseburger Rice Skillet
Ingredients:
- 1 cup uncooked rice
- 1 pound ground beef
- 6 slices bacon, chopped
- 1 cup diced onion
- 2 cups beef broth
- 1 cup shredded cheddar cheese
- 1 tablespoon Worcestershire sauce
- Salt and pepper to taste
- Chopped green onions for garnish
Directions:
-
Step 1: Cooking the Bacon
Begin by cooking the chopped bacon in a large skillet over medium heat until it turns crispy and golden brown. This process infuses the oil in the skillet with delicious bacony flavor, which will enhance the entire dish. Once crispy, remove the bacon from the skillet and let it drain on paper towels to absorb the excess grease.
-
Step 2: Browning the Beef and Onions
In the same skillet, add the ground beef along with the diced onion. Cook this mixture until the beef is browned and the onions become soft and translucent. This step creates a savory base for your rice dish, filling the kitchen with a mouthwatering aroma.
-
Step 3: Adding the Rice
Stir in the uncooked rice and toast it lightly for 1-2 minutes. This helps to enhance the rice’s nutty flavor and ensures that it soaks up all the flavors from the skillet as it cooks.
-
Step 4: Cooking the Rice Mixture
Pour in the beef broth along with Worcestershire sauce, salt, and pepper to taste. Bring the mixture to a boil and then reduce the heat. Cover the skillet and simmer for 18-20 minutes, or until the rice is tender and has absorbed most of the liquid. This step ensures that every grain is flavorful and fluffy.
-
Step 5: Mixing in the Goodness
Once the rice is ready, gently stir in the crispy bacon and shredded cheddar cheese. Continue to stir until the cheese melts into the mixture, creating a gooey, irresistible texture. The combination of bacon and cheese adds richness that takes this dish to the next level.
-
Step 6: Garnishing and Serving
Finally, garnish your skillet with chopped green onions for a fresh and vibrant finish. This adds a pop of color and a slight crunch, perfectly complementing the creamy cheeseburger base.
How to Serve Bacon Cheeseburger Rice Skillet
Serve this versatile dish warm straight from the skillet for a family-style meal. Pair it with a crisp salad or some steamed vegetables for a balanced dinner. For entertaining, you can serve it in individual bowls, making it an easy, shareable option for gatherings or game day.
How to Store Bacon Cheeseburger Rice Skillet
If you have leftovers, store them in an airtight container in the fridge for up to 3 days. To reheat, simply warm it on the stove over low heat or microwave until heated through. For longer storage, consider freezing it in a suitable container for up to 3 months. Thaw and reheat when ready to enjoy again.
Expert Tips for Perfect Bacon Cheeseburger Rice Skillet
- For a bit of extra flavor, try using flavored beef broth or adding some garlic powder or paprika to the beef while cooking.
- If you prefer a spicy kick, consider adding some diced jalapeños or chili flakes.
- Feel free to substitute the cheddar cheese with other types, like Monterey Jack or pepper jack, for a different taste.
- To make it even heartier, mix in some frozen peas or corn when the rice is almost finished cooking.
Delicious Variations
- Vegetarian Option: Skip the bacon and beef, and use black beans and sautéed bell peppers for a plant-based option that’s equally satisfying.
- Cheesy Mushroom Twist: Add sautéed mushrooms along with the beef for an earthy flavor that complements the cheeseburger theme.
- Spicy BBQ Version: Mix in some BBQ sauce during the cooking process for a tangy twist that adds a new flavor profile to the traditional dish.
Frequently Asked Questions
-
Can I use brown rice instead of white rice?
Yes, you can use brown rice, but be sure to double the cooking time and add extra liquid, as brown rice generally takes longer to cook. -
What if I don’t have beef broth?
Chicken broth, vegetable broth, or even water can substitute for beef broth if you’re in a pinch, although they will change the flavor a bit. -
Can I make this dish ahead of time?
Yes! Prepare everything up to the point of adding the cheese, let it cool, and store it in the fridge. When you’re ready to eat, just heat it up and stir in the cheese until melted. -
Is there a way to make this dish lighter?
You can use ground turkey instead of beef and reduce the amount of cheese to lower the fat and calorie count without sacrificing flavor. -
What can I serve with this dish?
This rice skillet pairs beautifully with simple sides like coleslaw, pickles, or a fresh garden salad to lighten up the meal.
Conclusion
Now that you have the recipe for this Bacon Cheeseburger Rice Skillet, you’re all set to delight the taste buds of your family and friends. It’s a simple, satisfying meal that combines comfort food with ease of preparation. Whether you’re whipping it up for a weeknight dinner or serving it at a gathering, this skillet dish is sure to be a hit. Give it a try and enjoy all the cheesy, bacon-y goodness!